Introduction to making your own pushpins
Pushpins, also known as thumbtacks or map tacks, are essential office and school supplies. They come in a range of colors and shapes, but sometimes you need something special that you can’t find in stores. Making your own pushpins is an easy, customizable way to add personality to your bulletin board or map.
Gather your materials
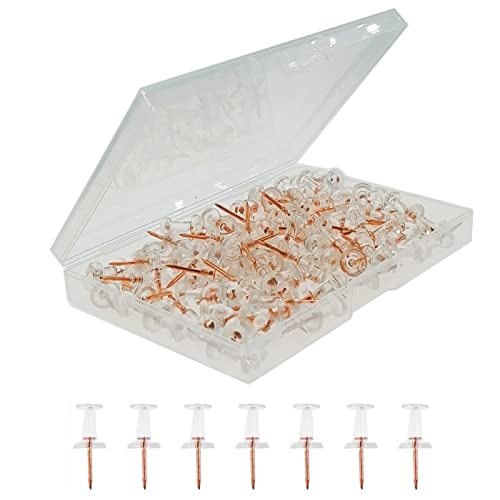
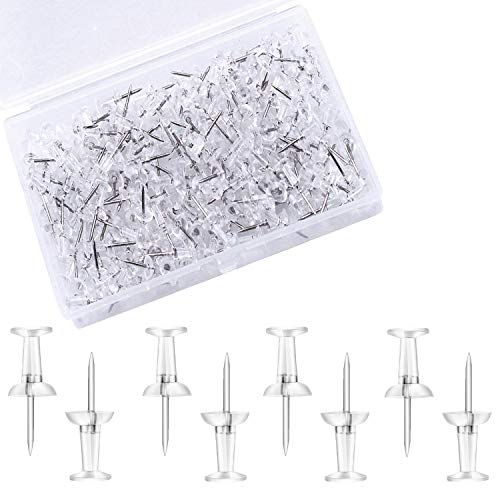
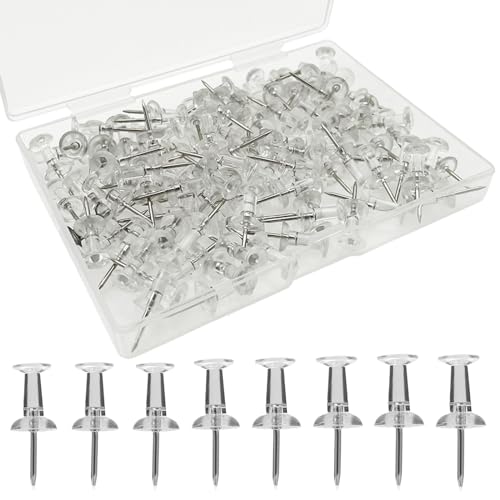
The materials you’ll need for this DIY project are easy to find and affordable. You’ll need:
- Flat-topped tacks or pins
- Small decorative items, such as beads, buttons, or stickers
- Strong glue, such as E6000 or hot glue
Decorating the pushpins
Take your flat-topped tack or pin and apply a small amount of glue to the top. Place your decorative item on top and hold in place until the glue dries. You can use a variety of small items to decorate your pushpins, such as:
- Beads or gems
- Buttons or sequins
- Stickers or paper shapes
Allow the glue to dry completely
Once you’ve decorated your pushpins, allow them to dry completely before using them. This may take anywhere from a few minutes to a couple of hours, depending on the type of glue you used. Be patient and avoid using the pushpins before they’re fully dry, or else your decorations may fall off.
Enjoy your handmade pushpins!
Now that your pushpins are dry and ready to use, enjoy them! Use them to hold notes and pictures on your bulletin board, or mark important locations on your map. Making your own pushpins is a fun and easy way to personalize your space and make it your own.