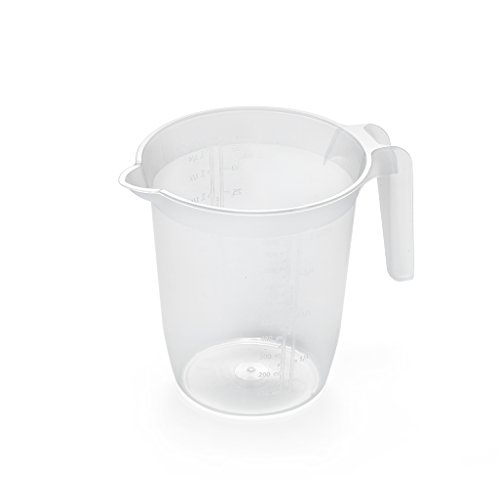
Step-by-Step Guide on How to Make a Jug out of Clay
If you’ve ever wanted to try your hand at pottery, making a jug is a great place to start. Not only is it a fun and rewarding experience, but also a great way to create a unique and functional piece of art. Here’s a step-by-step guide on how to make a jug out of clay:
Gather Your Supplies
First, gather all of your supplies. You’ll need a piece of clay, a pottery wheel, a sponge, carving tools, and a flat surface to work on. Make sure your clay is soft and malleable so that it’s easy to shape and form.
Throw the Pot
Next, throw the pot on the pottery wheel. This is the process of shaping the clay into a basic cylinder shape. Use your hands and water to mold the clay and create a smooth surface. Keep in mind that the wider the base of your jug, the more stable it will be.
Create the Spout and Handle
Once your pot has taken shape, it’s time to create the spout and handle. Using your carving tools, carefully carve out a spout near the top of the cylinder. Then, form a handle by pulling a piece of clay from the side of the pot and attaching it to the top rim. Smooth out any rough edges with your sponge.
Dry and Fire the Jug
Allow your jug to dry completely before firing it in a kiln. This can take several days or weeks depending on the size of your jug. Once it’s dry, fire it in a kiln at a temperature of around 1,800°F. This will harden the clay and make it durable.
Decorate and Glaze
After firing, you can decorate your jug with paint, glaze, or other materials. This is your chance to get creative and make your jug truly unique. Once you’ve decorated it, fire it in the kiln one final time, and then it’s ready to use or display!


