Gather the necessary tools and materials
To install a wired doorbell, you will need several tools and materials. Firstly, you will need a doorbell kit, which typically includes a chime unit and a push button. Additionally, you will need a voltage tester, wire strippers, a screwdriver, screws, and electrical tape. It is also important to turn off the power at the main circuit breaker before starting the installation process to ensure safety.
Remove the old doorbell (if applicable)
If you have an existing doorbell system that needs to be replaced, you will need to remove the old doorbell first. Begin by turning off the power to the doorbell at the main circuit breaker. Next, unscrew the doorbell button from the wall and disconnect the wiring. Use a voltage tester to ensure that there is no electrical current running through the wires before proceeding. Once the old doorbell is removed, you can proceed to the next steps of the installation process.
Mount the chime unit
The next step is to mount the chime unit, which is the device that produces the sound when the doorbell is pressed. Choose a suitable location for the chime unit, preferably near the front door or in a central area of your home where the sound can be heard clearly. Use a screwdriver and screws to secure the chime unit to the wall or ceiling. Make sure it is mounted securely and at a height that is easily accessible.
Connect the wires
After mounting the chime unit, you will need to connect the wires. Start by stripping the insulation off the ends of the wires using wire strippers. Next, match the labeled wires from the doorbell button with the corresponding terminals on the chime unit. Typically, the wires will be color-coded or labeled “front” and “trans” for the front door and transformer connections, respectively. Attach the wires to the terminals and tighten the screws to secure them in place. Use electrical tape to cover the exposed wire ends for added safety.
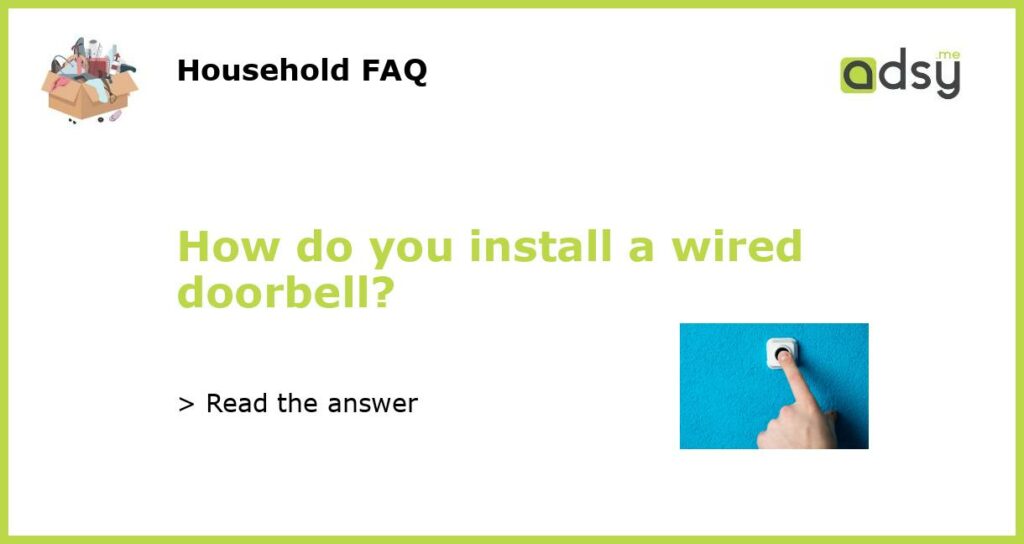
Test the doorbell
Once all the wires are connected, it is important to test the doorbell to ensure that it is functioning properly. Turn the power back on at the main circuit breaker and press the doorbell button. If the doorbell chimes, it indicates that the installation was successful. If the doorbell does not chime, double-check the wiring connections and make any necessary adjustments. It may be helpful to use a voltage tester to verify that there is power running through the wires. Once the doorbell is fully functional, you can finish the installation by securing any loose wires and replacing the cover on the chime unit.


