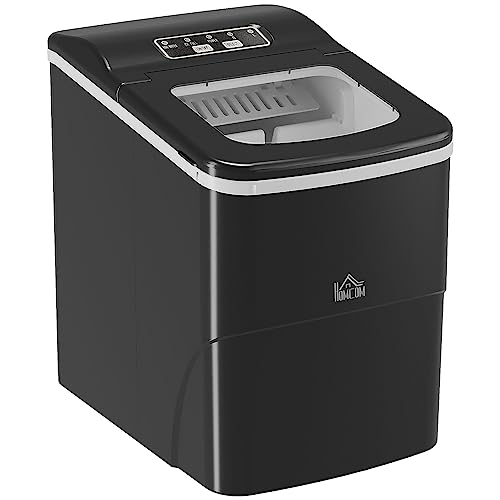
Step-by-step guide: How to install a built-in ice maker
If you’re looking for a way to have quick and easy access to ice without the need for ice trays, a built-in ice maker may be the answer for you. While the process of installation may seem daunting, it’s actually quite simple when broken down into steps. Follow these instructions to install your own built-in ice maker:
Step 1: Gather necessary tools and materials
Before you begin any installation, it’s important to make sure you have everything you need. For this installation, you will need an ice maker kit, a drill with a hole saw attachment, a power drill, a water supply line, an adjustable wrench, and a Teflon tape. You may also want to wear gloves and safety glasses for added protection.
Step 2: Choose a location and clear the space
The next step is to choose a location for your ice maker and clear the space. Keep in mind that the location should be near a water supply line and an electrical outlet. You also want to make sure the area is level and free from any obstructions or potential hazards. Once you have found a suitable location, clear the space to make room for the ice maker.
Step 3: Install the water supply line
Using the hole saw attachment on your drill, create a hole in the back of the cabinet where the ice maker will be installed. Next, connect the water supply line to the cold water supply valve. Be sure to use Teflon tape on the threads to prevent any leaks. Run the line through the hole in the cabinet and connect it to the hose on the back of the ice maker. Tighten all connections with an adjustable wrench.
Step 4: Connect the power supply
Most ice makers require a dedicated electrical circuit, so it’s important to follow the manufacturer’s instructions for connecting the power supply. Use your power drill to make a hole in the back of the cabinet for the electrical cable to pass through. Connect the electrical cable to the ice maker and plug it in to the nearest power outlet.
Step 5: Test the ice maker
Once the water supply line and power supply are connected, it’s time to test the ice maker. Turn on the water supply and make sure there are no leaks. Then, turn on the ice maker and let it run for about an hour. Check to make sure the ice tray is filling up with water and that ice is forming. If everything is working properly, you’re ready to start enjoying easy access to ice whenever you need it!