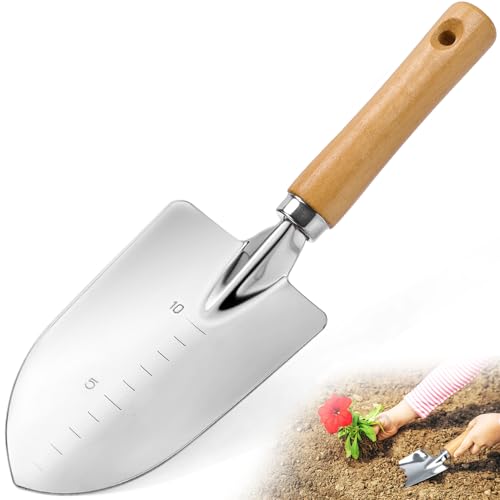
Why Clean Your Trowel Regularly?
Regularly cleaning your trowel is essential to maintain its effectiveness and prolong its lifespan. A dirty trowel can hinder your work by leaving behind debris, affecting the quality of your finish. Additionally, dirt and grime can accumulate over time, causing rust and corrosion, which can compromise the integrity of the tool. Cleaning your trowel after each use will ensure that it remains in optimal condition and ready for the next job.
Gather the Necessary Tools
Before you begin the cleaning process, it’s important to gather the necessary tools. You will need a bucket or container large enough to submerge the trowel, warm water, a stiff-bristle brush, such as a wire brush or scrub brush, and a clean towel or rag for drying.
Remove Debris and Excess Cement
Start by removing any excess cement or debris from the trowel. Use the stiff-bristle brush to scrape off any dried-on materials. Be sure to remove all visible particles, as they can become more difficult to clean once they dry or harden.
Soak the Trowel in Warm Water
Fill a bucket or container with warm water and submerge the trowel. Allow it to soak for a few minutes to loosen any remaining residue. The warm water will help to soften any dried-on cement or grime, making it easier to remove.
Scrub and Rinse
Once the trowel has soaked for a few minutes, use the stiff-bristle brush to scrub the surface. Pay close attention to the areas with stubborn residue. Scrub in a circular motion, applying gentle pressure to avoid damaging the trowel. Rinse the trowel thoroughly with clean water to remove any loosened dirt or debris.


