How to Bleed Air from a Radiator: Step-by-Step Guide
If you’ve noticed that your radiator isn’t heating up properly or that there are strange gurgling noises coming from it, chances are there is air trapped inside. This can greatly affect the efficiency of your radiator and lead to uneven heating in your home. The good news is, bleeding the air from a radiator is a simple DIY task that can be done without any professional help. In this article, we will guide you through the step-by-step process of bleeding air from a radiator.
Step 1: Identify which radiators need to be bled
Before you begin the bleeding process, it’s important to identify which radiators in your home need to be bled. Start by turning on your central heating system and letting it run for a few minutes. Then, carefully touch each radiator to feel for any cold spots. Cold spots typically indicate trapped air. Make a note of the radiators that need bleeding so you can prioritize the process.
Step 2: Turn off your central heating system
Once you have identified the radiators that need bleeding, it’s time to turn off your central heating system. This is an important step as it will prevent hot water from flowing through the radiator while you are bleeding it, reducing the risk of burns or scalds.
Step 3: Locate the bleed valve
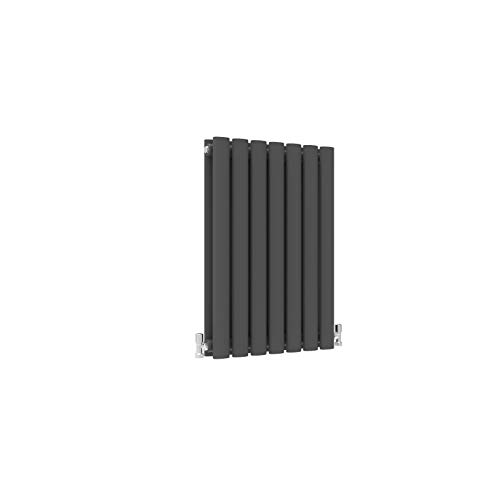
Next, you need to locate the bleed valve on each radiator that needs to be bled. The bleed valve is typically a small square or hexagonal nut located at the top of the radiator, either on the side or near the back. You may need to use a radiator key or a flat-blade screwdriver to open the valve.
Step 4: Bleed the radiator
Now that you have located the bleed valve, it’s time to bleed the radiator. Place a towel or a small container beneath the valve to catch any water that may come out. Using a radiator key or a screwdriver, gently turn the valve anticlockwise. You should hear a hissing sound as the trapped air escapes. Keep turning the valve until water starts to come out. Once water starts flowing steadily, you can close the valve by turning it clockwise.
Step 5: Check the radiator’s pressure
After bleeding the radiator, it’s a good idea to check the pressure of your central heating system. A drop in pressure can indicate a leak in the system, which may require professional attention. To check the pressure, locate the pressure gauge on your boiler and ensure it is within the recommended range. If the pressure is too low, you may need to add more water to the system using the filling loop.
By following these simple steps, you can successfully bleed the air from your radiators and restore their efficiency. Regularly bleeding your radiators can not only improve their performance but also help save energy and reduce your heating bills. If you are unsure or uncomfortable with performing this task yourself, it is always best to seek professional help to avoid any potential damage or accidents.


