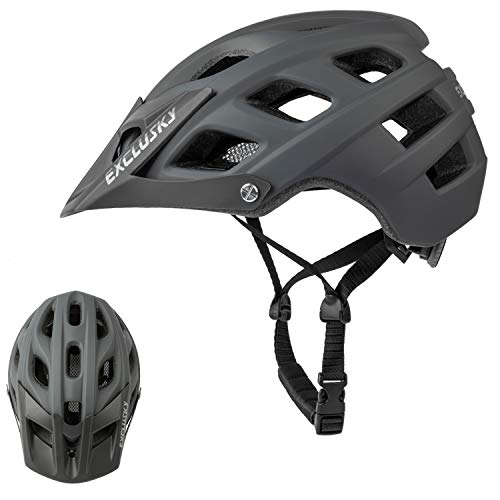
Adjust Your Straps for a Perfect Fit on Your Bike Helmet
Adjusting your straps on your bike helmet is essential to ensure that the helmet fits perfectly and provides maximum protection in the event of an accident. In this article, we’ll walk you through simple steps on how to adjust the straps on your bike helmet to make riding safer and comfortable.
Step 1: Loosen the Straps
Before anything else, you have to loosen the straps on your bike helmet. Find the slider under your chin and move it upwards to loosen the straps. You want to make a room so you can easily position the helmet on your head before you fasten the straps.
Step 2: Position the Helmet on Your Head
Place the helmet on your head, so the front of the helmet is around an inch above your eyebrows. Ensure that you center the helmet on your head and that there’s equal space from the helmet to your forehead.
Step 3: Adjust and Tighten the Straps
Once you’ve got the helmet in a comfortable and centered position, you tighten the straps for a secure fit. Pull the straps downward until the V is just under your earlobes. Make sure the straps feel snug but not too tight; you need to ensure that the helmet won’t move around on your head too much.
Step 4: Adjust the Chin Strap
Adjusting the chin strap is the final and the most essential step in helmet adjustment. You want to make sure that the chin strap is snug but not too tight. The right way to check this is by putting no more than two fingers between the chin strap and your chin. The chin strap’s purpose is to keep the helmet in place so that it won’t slide off your head in an impact.
Now that you have adjusted the straps and chinstrap, shake your head vigorously from side to side and up and down to make sure it doesn’t move. If it wobbles, adjust the straps again until it fits perfectly. And there you go, you’re ready to hit the road!