Understanding the Basics of Mandoline Slicers
Mandoline slicers are probably one of the most versatile kitchen tools one can own. Whether it’s slicing cucumbers paper-thin or making ridged potato chips, mandoline slicers can do it all. But to ensure smooth and precise cuts, the blades of the mandoline slicer have to be sharp. And that’s where most people struggle.
Before we delve into the process of sharpening the blades of a mandoline slicer, let’s first understand the basics of mandoline slicers.
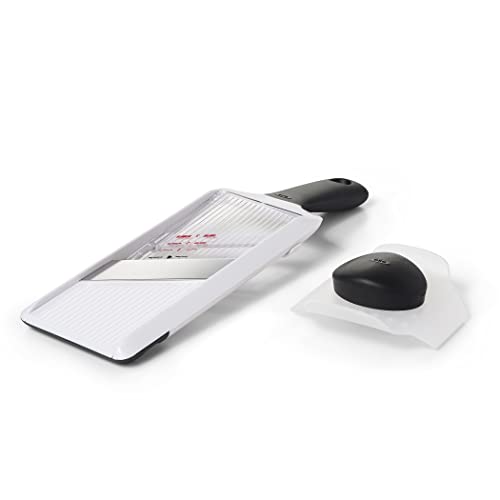
Mandoline slicers consist of two main parts – the blade and the body. The blade is a flat, rectangular piece of metal (usually stainless steel) with a sharp edge. The body is the frame that holds the blade in place. The body also features a handheld holder (or a food holder) that grips the food items and slides them over the blade for slicing.
Why Should You Sharpen Mandoline Slicer Blades?
Over time, even the sharpest of mandoline slicer blades can become dull. When this happens, it becomes harder to slice food items smoothly, and the blades can even cause injuries due to the added force required. Therefore, it’s crucial to keep the mandoline slicer blades sharp.
The best way to know when a mandoline slicer blade needs sharpening is when you notice tearing instead of slicing while using the slicer. Also, if the blade has visible nicks or chips, then it’s time to sharpen it.
How to Sharpen the Blades of Your Mandoline Slicer?
Sharpening mandoline slicer blades is not as tough as it may seem. You will need a honing stone or a sharpening steel and a little bit of patience. Here’s how you can sharpen the blades of your mandoline slicer:
- Disassemble the mandoline slicer: It’s crucial to take the mandoline slicer apart before sharpening the blades. This will give you full access to the blade, which is what you need to sharpen.
- Sharpening: Hold the honing stone or sharpening steel at a 20-degree angle and run the blade along the stone or steel in one direction. Make sure you cover the entire length of the blade for the best results. Repeat this process several times, alternating between both sides of the blade.
- De-burring: After sharpening the blade, turn it over and run it over the honing stone or steel in one direction, but this time without applying any pressure. The aim is to remove any burrs or rough edges that may have formed during sharpening.
- Cleaning and oiling: Once done with sharpening and de-burring, it’s essential to clean the blade with a damp cloth, dry it thoroughly, and wipe it with a little bit of cooking oil. This will prevent rusting and keep the blade in good condition.
- Reassemble the mandoline slicer: After cleaning and oiling the blade, reassemble the mandoline slicer, and it’s ready to use.
Precautions to Take While Sharpening Mandoline Slicer Blades
Here are a few precautions you should take while sharpening mandoline slicer blades:
- Make sure to disassemble the mandoline slicer before sharpening the blades.
- Wear cut-resistant gloves while sharpening.
- Sharpen in a well-lit area, so you can see what you’re doing.
- Use a honing stone or sharpening steel designed for this purpose.
- Be careful not to cut yourself while sharpening the blades.
Sharpening the blades of a mandoline slicer can seem like a daunting task, but it’s not. With a little bit of patience and the right tools, you can keep your mandoline slicer blades sharp for years to come. Just remember to take precautions, disassemble the mandoline slicer, sharpen the blades, de-burr, clean and oil, and reassemble it before using it again.