Understanding Baby Monitors
Before you can set up a baby monitor, it’s important to understand what it is and how it works. Baby monitors are devices that use radio waves to transmit sounds from your baby’s room to a receiver in another room. They typically have two parts: a transmitter and a receiver. The transmitter is placed in your baby’s room and picks up any sounds made in the room, while the receiver is carried by the parent or caregiver and picks up the sounds transmitted by the transmitter.
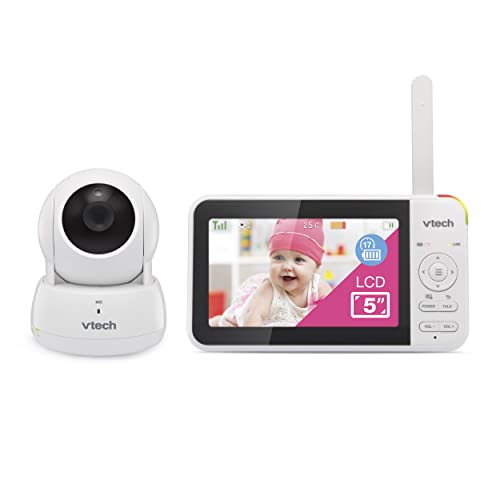
There are two main types of baby monitors: audio and video. Audio monitors transmit sound only, while video monitors have a camera that allow you to see and hear your baby. Some monitors also have additional features such as night vision, temperature sensors, and two-way talk so you can soothe your baby remotely.
Choosing the Right Baby Monitor
When choosing a baby monitor, it’s important to consider your specific needs and budget. Audio monitors are generally less expensive than video monitors, but may not provide enough peace of mind for some parents. Video monitors can be more costly, but allow you to see your baby and monitor them visually. It’s also important to consider the range of the monitor, especially if you have a larger home.
Before making a purchase, read reviews and do research on the different brands and models available. Some popular baby monitor brands include Motorola, Philips, and Iotty.
Setting Up an Audio Baby Monitor
Setting up an audio baby monitor is relatively simple. First, plug in the transmitter in your baby’s room and turn it on. Then, turn on the receiver and make sure it’s within range of the transmitter. Test the monitor by making noise in your baby’s room and checking to see if you can hear it through the receiver. Adjust the volume as needed.
Setting Up a Video Baby Monitor
Setting up a video baby monitor is a bit more involved than an audio monitor, but still straightforward. First, mount the camera in your baby’s room according to the manufacturer’s instructions. Then, plug in the transmitter and turn it on. Turn on the receiver and make sure it’s within range of the transmitter. The video should automatically appear on the receiver’s screen.
Test the monitor by making noise in your baby’s room and checking to see if you can hear and see it through the receiver. Adjust the volume and camera angle as needed. Some video monitors also allow you to pan and zoom the camera remotely.
Additional Tips for Baby Monitor Setup and Use
To ensure the best performance from your baby monitor, follow these additional tips:
- Place the transmitter away from other electronic devices that may interfere with the signal
- Keep the receiver within range of the transmitter
- Turn off the monitor when not in use to conserve battery life
- Test the monitor regularly to ensure it’s working properly
- Consider investing in a monitor with higher security features to prevent hacking