Removing Ink Stains from a Ring Binder: Simple Tips and Tricks
If you’ve ever had an ink stain on a ring binder, you know how frustrating it can be. Ink stains are notorious for being stubborn and difficult to remove, but with the right techniques, you can successfully clean your ring binder and preserve its appearance. Whether it’s a ballpoint pen, gel pen, or marker, follow these simple tips and tricks to remove ink stains from your ring binder.
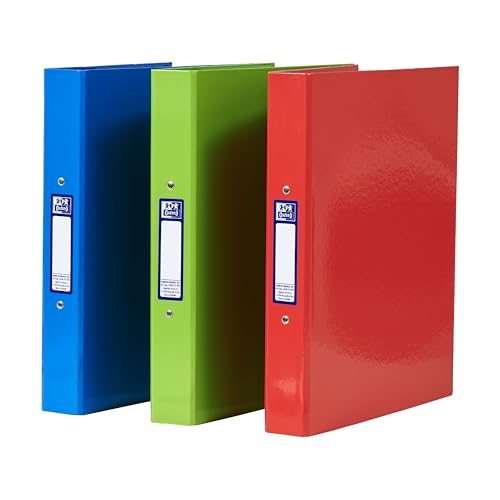
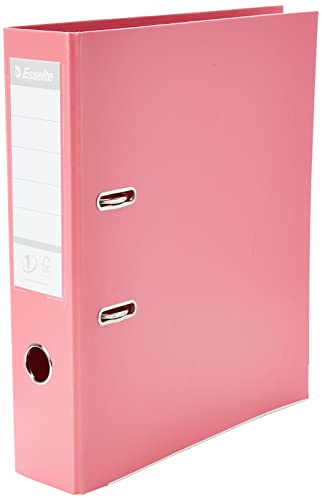
Assess the Material
Before you start applying any cleaning solutions to your ring binder, it’s essential to assess the material to ensure it can withstand the cleaning process. Most ring binders are made of materials like plastic or vinyl, which are relatively easy to clean. However, some binders may have a fabric or leather cover, which requires a different approach. Carefully inspect the binder’s material and check for any care instructions or manufacturer recommendations. This will help you determine the most suitable cleaning method to remove the ink stain.
Identify the Type of Ink
Not all ink stains are the same, and different types of ink require specific treatments. Identify the type of ink you’re dealing with by checking the pen or marker label. Ballpoint pens, gel pens, and permanent markers each have their unique characteristics, and you’ll need to adjust your cleaning approach accordingly. For example, ballpoint pen ink can often be removed with rubbing alcohol, while permanent marker ink may require a stronger solvent-based cleaner. By identifying the type of ink, you can select the most effective cleaner to remove the stain without damaging the binder material.
Test the Cleaning Solution
Before applying any cleaning solution directly to the ink stain, it’s crucial to test it on a small, inconspicuous area of the binder to ensure it doesn’t cause discoloration or damage. Select an area on the inside cover or the bottom of the binder and apply a small amount of the cleaning solution. Gently blot the solution with a clean cloth or sponge and observe the area for any adverse reactions. If there are no signs of damage, you can proceed to treat the ink stain with confidence. If the cleaning solution causes discoloration or damage, try an alternative solution or seek professional help to avoid further harm to your ring binder.
Apply the Cleaning Solution
Once you’ve determined the appropriate cleaning solution for your ring binder, it’s time to apply it to the ink stain. Start by laying a clean cloth or paper towel underneath the stained area to prevent the ink from spreading to other parts of the binder. Apply a small amount of the cleaning solution to a clean cloth or sponge and gently dab the ink stain. Avoid rubbing the stain vigorously, as it may cause the ink to spread or the binder material to deteriorate. Instead, use gentle, circular motions to lift the ink off the surface. Continue blotting and dabbing until the ink stain gradually fades away.
Rinse and Dry
After successfully removing the ink stain from your ring binder, you’ll want to rinse off any remaining cleaning residue and allow the binder to dry completely. Dampen a clean cloth with warm water and wipe the previously stained area to remove any excess cleaning solution. Ensure there are no soapy or sticky residues left on the binder’s surface. Then, leave the binder open or lay it flat in a well-ventilated area to air dry. Avoid exposing the binder to direct sunlight or excessive heat, as it may cause the material to warp or fade. Once the binder is completely dry, it will be ready for use once again.