Step-by-Step Guide: How to Remove a Bathroom Cabinet
Removing a bathroom cabinet may seem like a daunting task, but with the right tools and instructions, it can be a simple DIY project. Here’s a step-by-step guide to help you remove your bathroom cabinet safely and efficiently.
Tools You Will Need:
Before starting the removal process, make sure you have the following tools on hand:
- Screwdriver (Phillips and flathead)
- Pliers
- Hammer
- Pry bar or putty knife
- Utility knife
- Socket wrench set
Steps to Remove a Bathroom Cabinet:
Step 1: Turn off the Water Supply
If your bathroom cabinet has plumbing fixtures such as a sink or faucet, turn off the water supply to avoid any leaks or water damage.
Step 2: Remove the Doors and Drawers
Using a screwdriver, remove any screws holding the cabinet doors and drawers in place. Carefully lift them off and set them aside.
Step 3: Disconnect Plumbing
If you have plumbing fixtures attached to the cabinet, use pliers or a wrench to disconnect them from the wall and the sink or faucet.
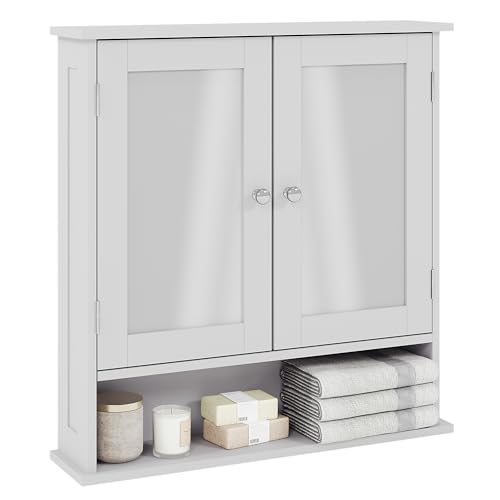
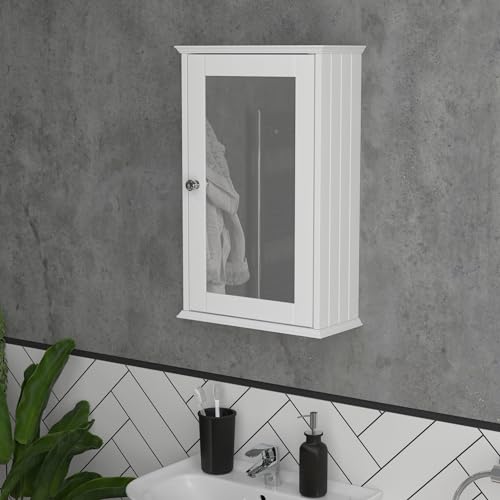
Step 4: Remove the Cabinet from the Wall
Locate the screws holding the cabinet to the wall and remove them using a screwdriver or socket wrench. Use a pry bar or putty knife to gently separate the cabinet from the wall. If the cabinet is glued to the wall, use a utility knife to carefully cut the adhesive.
Step 5: Clean Up and Dispose
Once you have removed the cabinet, clean up any debris and patch up any holes left in the wall. Depending on the condition of the cabinet, you may be able to donate or sell it, or you can dispose of it properly.
By following these steps and using the right tools, you can safely and effectively remove your bathroom cabinet without causing any damage or injury. If you are uncomfortable with any part of the process, always consult a professional to ensure the job is done correctly.


