Understanding the Importance of Meat Thermometer Calibration
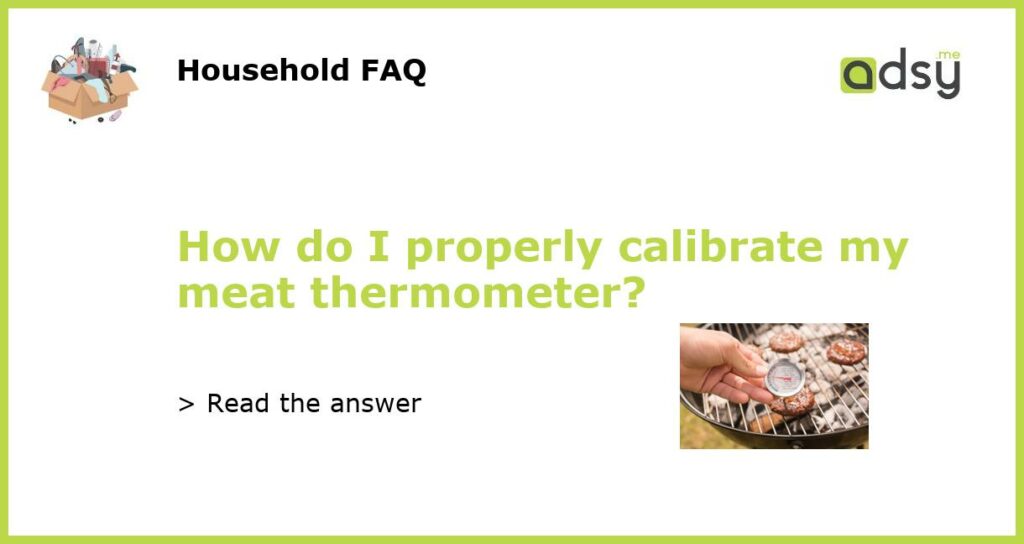
Meat thermometers are essential tools in every kitchen. They help you cook meat to the right temperature, ensuring that the food is safe to eat and tastes great. However, a meat thermometer is only useful if it is accurate. A poorly calibrated thermometer can yield unreliable readings, and this can lead to overcooking or undercooking, which can compromise the taste, texture, and safety of your food.
The good news is that calibrating your meat thermometer is easy, and it only takes a few minutes. In the next few paragraphs, we’ll explain how you can properly calibrate your thermometer to ensure that it delivers accurate readings every time you use it.
The Boiling Water Method
The most reliable and straightforward method of calibrating your meat thermometer is the boiling water method. Here are the simple steps to follow:
- Fill a deep pot with water and bring it to a rolling boil.
- Insert the stem of your thermometer into the boiling water. Make sure the sensor is submerged but not touching the bottom or sides of the pot.
- Wait for a few seconds until the reading stabilizes. It should read 212°F or 100°C at sea level. If it reads higher or lower than this, it means your thermometer is off, and you need to adjust it.
- If your thermometer has a calibration nut, turn it until the needle points to 212°F or 100°C. If it doesn’t have a calibration nut, note how much the reading is off by and adjust your future readings accordingly.
The Ice Water Method
Another way to check the accuracy of your meat thermometer is the ice water method. Here are the steps:
- Fill a large glass with ice and add a bit of water until the glass is full.
- Insert the stem of your thermometer into the ice water, making sure it doesn’t touch the sides or bottom of the glass.
- Wait for the reading to stabilize. It should be 32°F or 0°C. If the reading is not accurate, adjust the thermometer accordingly.
Testing Your Thermometer on Different Meats
Once you have calibrated your thermometer, it’s a good idea to test it on different meats to ensure that it’s consistently accurate. For instance, you can use it to check the temperature of chicken, pork, and beef. Make sure you insert the thermometer in the thickest part of the meat, away from bones and fat, and wait for a few seconds until the reading stabilizes.
Remember that different types of meat require different internal temperatures to be considered safe to eat. For example:
- Ground beef, pork, and lamb should be cooked to at least 160°F or 71°C.
- Poultry (chicken, turkey, duck) should be cooked to 165°F or 74°C.
- Beef steaks and roasts should be cooked to 145°F or 63°C (medium-rare) or 160°F or 71°C (medium).
In Conclusion
Calibrating your meat thermometer is a simple process that can make a significant difference in the quality and safety of your cooking. By following the boiling water method or the ice water method, you can ensure that your thermometer delivers accurate readings every time you use it. Be sure to test your thermometer on different meats and adjust your cooking times and temperatures accordingly. With a properly calibrated thermometer, you can cook your meat to perfection, every time.


