How to Make Bottle Labels at Home
Gather Your Materials
Before you can start making your own bottle labels at home, you’ll need to gather a few materials. Here’s what you’ll need:
- Blank adhesive labels
- Printer
- Design software or templates
- Scissors or paper cutter
- Clear packaging tape (optional)
Make sure you have enough labels for the number of bottles you want to label. You can find blank adhesive labels at office supply stores or online.
Design Your Labels
Once you have your materials ready, it’s time to design your bottle labels. You can use design software like Photoshop or Illustrator, or you can find pre-made templates online. There are many websites that offer free label templates that you can customize with your own text and images. Some popular options include Avery and OnlineLabels.
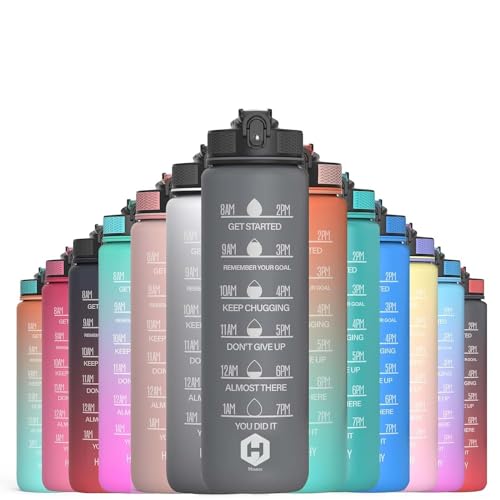
When designing your labels, be sure to consider the size and shape of your bottles. Measure the areas where you want to apply your labels and adjust your design accordingly. You can also add any additional information or branding elements that you want to include on your labels.
Print and Cut Your Labels
Once you’re happy with your design, it’s time to print and cut your labels. Load your blank adhesive labels into your printer, making sure they are properly aligned. If you’re using a template, follow the printing instructions provided.
After printing, use scissors or a paper cutter to cut out your labels. Take care to cut along the edges of your design, ensuring a clean and professional-looking finish. If you prefer a more durable label, you can also cover them with clear packaging tape to protect them from moisture and wear.
Apply Your Labels
Now that your labels are ready, it’s time to apply them to your bottles. Make sure your bottles are clean and dry before applying the labels. Start by peeling off the backing of the adhesive label and carefully place it on the desired area of the bottle. Use your fingers to smooth out any air bubbles or wrinkles.
If you’re having trouble getting the label to stick, you can use a hairdryer on low heat to warm up the adhesive. This will make it more pliable and easier to apply to the bottle.
Customize and Personalize
Making your own bottle labels at home gives you the opportunity to customize and personalize them to your liking. You can experiment with different fonts, colors, and images to create labels that reflect your unique style or brand. Consider adding personal touches like a logo or hand-drawn illustrations to make your labels stand out.
Additionally, you can also include information like the product name, ingredients, expiration date, or any other relevant information. This is especially important if you’re labeling bottles that contain homemade products like hot sauce, honey, or bath and body products.
Remember to have fun and be creative with your bottle label designs. Making them at home allows you to fully customize and create labels that perfectly suit your needs.