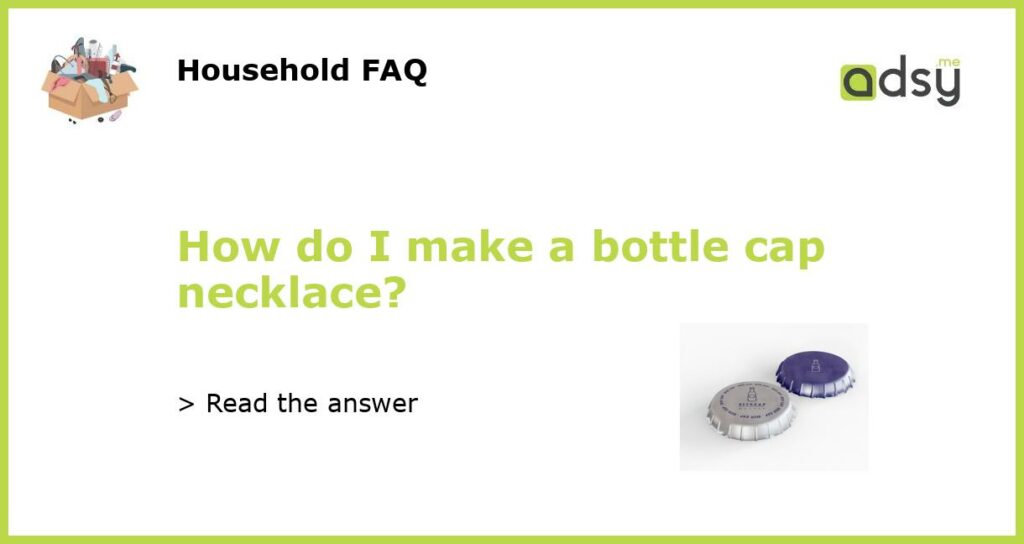
Gather Supplies
Before beginning your bottle cap necklace, you’ll need to gather supplies. You’ll need bottle caps, a hole puncher or drill, jump rings, a chain, pliers, and decorative elements such as paint, stickers, or beads. You can find bottle caps at craft stores or online suppliers.
Punch Holes in Bottle Caps
Using a hole puncher or drill, punch a small hole in the top of each bottle cap. This will be where you attach the jump rings to connect the caps and the chain. Be sure to punch the hole in the center of the cap to ensure it hangs correctly on the necklace.
Decorate Bottle Caps
Once you have all your bottle caps prepared, you can decorate them with paint, stickers, or beads to add a personalized touch. Use acrylic paint or paint markers to create designs or add messages. Stick on adhesive letters, decals, or rhinestones for some extra flair. Thread beads onto wire and wrap them around the edges of the cap.
Connect Bottle Caps with Jump Rings
Using pliers, attach jump rings to the top of each bottle cap. Then, connect the caps with additional jump rings to create the necklace. The number of bottle caps you use can vary depending on the length you want the necklace to be. Experiment with different combinations until you achieve the desired look.
Add Chain and Finishing Touches
Attach the chain to the jump rings on either end of the necklace. You can use a variety of chains, such as a simple silver or gold link chain, or a colorful beaded chain. Once the chain is attached, add any finishing touches, such as a lobster clasp or extender chain, to adjust the length of the necklace if necessary.
There you have it, a simple and fun way to create a unique piece of jewelry! With a little creativity and a few supplies, you can make a bottle cap necklace to wear or give as a gift.


