Preparing for the Installation
If you’re planning to install a ceiling fan with a light, the first thing you should do is gather all the necessary tools and equipment. You’ll need a ladder, wire cutters, wire strippers, a screwdriver, pliers, and a voltage tester. Before you start working on the installation, make sure the power to the room is turned off to prevent any accidents.
Installing the Ceiling Fan Bracket
The next step involves installing the ceiling fan bracket. Start by removing the existing electrical box from the ceiling and attaching the bracket to the ceiling. Use the screws that come with the fan to secure the bracket in place. Make sure the bracket is level and flush against the ceiling.
Wiring the Ceiling Fan and Light
Once the bracket is installed, it’s time to wire the fan and light. You’ll need to connect the wires from the fan motor to the wires from the electrical box in the ceiling. Each wire should be connected according to the manufacturer’s instructions. Make sure to use wire connectors to secure the connections.
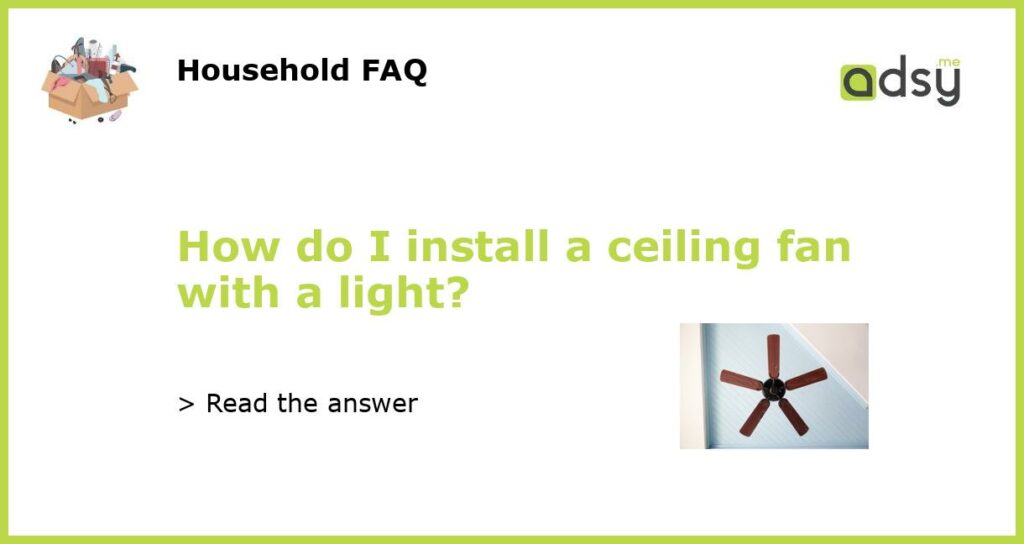
Attaching the Ceiling Fan Blades and Light Fixture
With the wiring done, it’s time to attach the blades to the fan. Use the screws that come with the fan to attach the blades to the motor. Once the blades are attached, you can install the light fixture. Follow the manufacturer’s instructions for attaching the light fixture to the fan.
Testing the Ceiling Fan and Light
Once everything is installed and connected, turn the power back on and test the fan and light to make sure they’re working properly. Use the voltage tester to make sure the power is off before you touch any wires. If everything is working correctly, turn off the power again and install the fan’s cover plate.