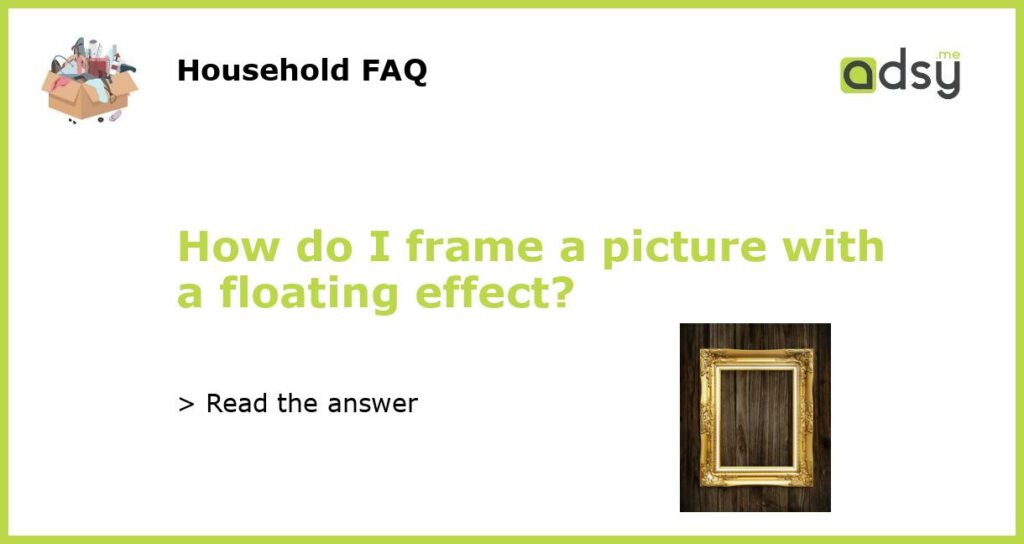
What is a floating effect?
A floating effect is a popular design technique that adds depth and dimension to a picture by creating the illusion that it is floating above the background. This effect is achieved by using shadows, layers, and positioning techniques to lift the picture off the page and give it a three-dimensional appearance.
Steps to frame a picture with a floating effect
Creating a floating effect for a picture can be done using various design tools and software. Here are some steps to help you frame a picture with a floating effect:
Step 1: Select a picture
Choose the picture you want to frame with a floating effect. It can be a photograph, a digital artwork, or any other image you want to enhance visually.
Step 2: Edit and optimize the picture
Before applying the floating effect, it’s important to edit and optimize the picture. This includes adjusting the colors, contrast, brightness, and sharpness to ensure the best visual impact. You can use photo editing software like Adobe Photoshop or online tools like Adobe Creative Cloud.
Step 3: Create a background layer
To achieve the floating effect, you need to create a separate background layer. This layer will act as the base for the picture and provide the illusion of depth. You can use a solid color, a gradient, or a textured background for this purpose. Make sure the background complements the picture and doesn’t distract from it.
Step 4: Apply shadows and positioning
Next, you need to apply shadows and positioning to create the floating effect. Start by duplicating the picture layer and positioning the duplicate above the background layer. Then, add a shadow effect to the duplicate layer to create the illusion of depth and lift. Adjust the opacity, size, and direction of the shadow to achieve the desired effect.
To further enhance the floating effect, you can also resize and rotate the picture slightly. This will give it a more dynamic appearance and make it seem like it’s floating in space. Experiment with different angles and positions to find the most visually appealing arrangement.
Step 5: Fine-tune and save the final result
Once you’re satisfied with the floating effect, take some time to fine-tune the details. Make any necessary adjustments to the shadows, positioning, or overall composition. Pay attention to the overall balance of the design and the harmony between the picture and the background.
Finally, save your framed picture with the floating effect in a suitable file format. Use high-quality settings to preserve the details and ensure the best visual output. You can then use the framed picture for various purposes, such as digital displays, printing, or online sharing.


