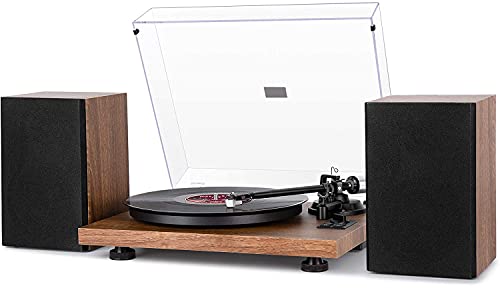
Understanding the Importance of Cleaning Your Turntable Needle
A turntable needle, also known as a stylus, is a vital component of a vinyl record player. It is responsible for reading the grooves of a vinyl record and converting them into sound. Over time, dust, dirt, and debris can accumulate on the needle, affecting its performance and sound quality. Cleaning your turntable needle regularly is essential to maintain optimal playback quality and prolong its lifespan. In this article, we will explain why cleaning your turntable needle is important and provide you with step-by-step instructions on how to clean it effectively.
Why is it Important to Clean Your Turntable Needle Regularly?
Cleaning your turntable needle regularly offers several benefits:
- Improved Sound Quality: A clean needle ensures accurate sound reproduction, prevents distortion, and enhances the overall audio experience.
- Extended Lifespan: By removing dust and debris, you minimize the risk of premature wear on the needle, prolonging its lifespan and reducing the need for replacement.
- Prevention of Record Damage: A dirty needle can transfer debris onto your vinyl records, causing scratches and reducing their lifespan.
- Prevention of Skips and Jumps: Dust particles on the needle can cause skips and jumps during playback, disrupting the listening experience.
How to Clean Your Turntable Needle: Step-by-Step Guide
Follow these steps to clean your turntable needle effectively:
Step 1: Gather the necessary supplies
Before you begin cleaning, gather the following supplies:
- A soft-bristled brush designed specifically for turntable needles.
- A specialized cleaning solution for turntable needles (avoid using alcohol-based solutions).
- A pair of tweezers (optional).
Step 2: Power off the turntable
Before handling the needle, ensure that your turntable is turned off and unplugged. This will prevent any accidental damage or injury.
Step 3: Brush the needle carefully
Gently brush the needle from back to front using the soft-bristled brush. Be cautious not to apply too much pressure or bend the fragile needle. This will help remove loose dust and debris.
Step 4: Apply the cleaning solution
If your needle requires further cleaning, apply a small amount of the specialized cleaning solution onto the brush or a cleaning pad provided with the solution. Lightly touch the needle with the brush or pad, being careful not to apply excessive pressure.
Step 5: Let it dry and test
Allow the needle to air dry before testing it with a vinyl record. Once dry, play a record and observe the sound quality. If you notice any improvement or remaining issues, repeat the cleaning process or consult a professional for further assistance.
Tips for Maintaining a Clean Turntable Needle
Here are some additional tips to help you maintain a clean turntable needle:
- Handle the needle with care, avoiding any unnecessary touching or contact.
- Clean your records regularly to minimize the accumulation of dirt and debris that can transfer onto the needle.
- Store your records in protective sleeves to reduce the risk of contamination.
- Consider using a turntable dust cover when the turntable is not in use to prevent dust and debris from settling on the needle.
- If you encounter persistent issues with sound quality or performance, consult a professional technician or turntable specialist for guidance.
By following these steps and maintaining a regular cleaning routine, you can ensure optimal sound quality and prolong the life of your turntable needle. Enjoy your vinyl records with clarity and precision!


