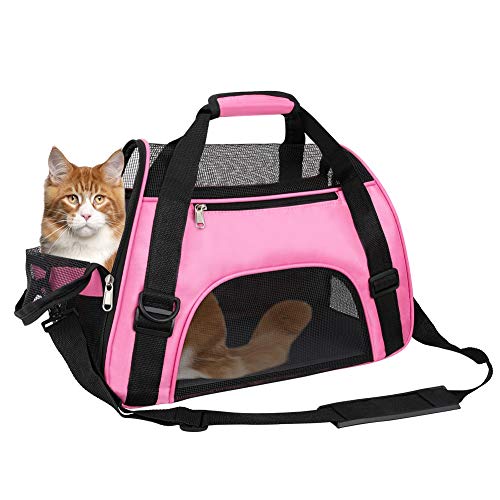
Why is it important to clean a pet travel carrier?
Cleaning a pet travel carrier is essential for the health and well-being of both your pet and yourself. Just like any other enclosed space, a pet carrier can become dirty, smelly, and be a breeding ground for germs and bacteria if not cleaned regularly. Your pet spends a significant amount of time in the carrier during travel, so it’s crucial to maintain a clean and sanitary environment for them. Additionally, cleaning the carrier regularly helps remove any odors that may have built up over time, ensuring a pleasant travel experience for both you and your pet.
What supplies do you need to clean a pet travel carrier?
Before you begin cleaning your pet travel carrier, gather the necessary supplies:
- Mild pet-friendly detergent or cleaning solution
- Warm water
- Spray bottle
- Scrub brush or sponge
- Old towels or paper towels
Step-by-step guide to cleaning a pet travel carrier
Follow these steps to properly clean your pet travel carrier:
Step 1: Remove any bedding, toys, or accessories
Empty the carrier of all items inside. Remove any bedding, toys, or accessories that your pet may have been using during travel. This will make it easier to clean the carrier thoroughly.
Step 2: Vacuum or shake out loose debris
If there is any loose hair, fur, or debris in the carrier, use a vacuum cleaner or shake the carrier outside to remove it. This will help prevent clogging the drain or creating a mess while washing the carrier.
Step 3: Prepare a cleaning solution
Mix a mild pet-friendly detergent or cleaning solution with warm water in a spray bottle. Avoid using harsh chemicals or bleach, as they may be harmful to your pet. The cleaning solution should be gentle yet effective in removing dirt and eliminating odors.
Step 4: Spray and scrub the carrier
Thoroughly spray the interior and exterior of the carrier with the cleaning solution. Use a scrub brush or sponge to scrub all surfaces, including the corners and crevices. Pay special attention to areas that may have come into contact with your pet’s waste or fluids.
Step 5: Rinse and dry the carrier
After scrubbing, rinse the carrier with clean water to remove any remaining cleaning solution. Ensure all soap residue is washed away. Use old towels or paper towels to dry the carrier thoroughly, or let it air dry in a well-ventilated area. It’s important to make sure the carrier is completely dry before using it again to prevent the growth of mold or mildew.
How often should you clean a pet travel carrier?
It’s recommended to clean your pet travel carrier after each use, especially if your pet had accidents or became soiled during travel. However, even if there were no accidents, it’s still important to clean the carrier regularly. A good rule of thumb is to give it a thorough cleaning at least once every few weeks. This regular maintenance will help prevent any buildup of dirt, odors, or bacteria and ensure a clean and fresh carrier for your pet’s next journey.
Tips for maintaining a clean pet travel carrier
Here are some additional tips to help maintain the cleanliness of your pet travel carrier:
- Spot clean any accidents or spills immediately to prevent stains and odors from setting.
- Consider using a removable and washable liner or pad inside the carrier for easy cleaning.
- Use pet-safe disinfectant wipes to quickly clean the carrier between thorough cleanings.
- Store the carrier in a clean and dry area when not in use to prevent dust accumulation.
- Regularly inspect and repair any damages to the carrier to ensure it remains safe and secure for your pet.
By following these cleaning guidelines and maintaining regular cleanliness, you can ensure your pet travels in a comfortable and hygienic environment. A clean carrier not only promotes your pet’s well-being but also provides peace of mind for you as a responsible pet owner.


