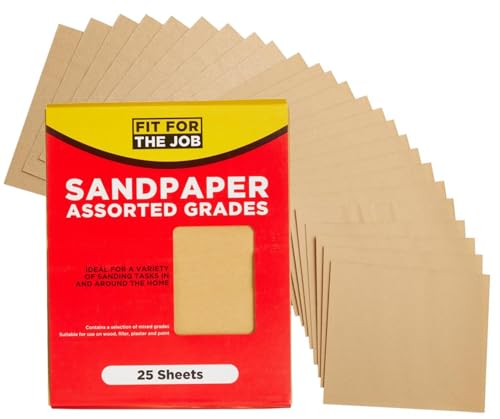
Using Adhesive-backed Sandpaper:
If you want a quick and easy way to attach sandpaper to a sander, adhesive-backed sandpaper is your best choice. This type of sandpaper has a sticky backing that adheres to the sander’s sanding pad.
To attach adhesive-backed sandpaper to your sander, follow these steps:
- Ensure that the sanding pad on your sander is clean and free from any dust or debris.
- Peel off the protective backing from the adhesive side of the sandpaper.
- Align the sandpaper with the sanding pad, ensuring that it covers the entire surface.
- Press the sandpaper onto the sanding pad, applying firm pressure to ensure a secure bond.
- Smooth out any air bubbles or wrinkles that may have formed during the attachment process.
With adhesive-backed sandpaper, you can easily remove and replace the sandpaper when it becomes worn or no longer effective.
Using Hook and Loop Sandpaper:
An alternative method to attach sandpaper to a sander is by using hook and loop sandpaper. This type of sandpaper has a backing with tiny hooks that attach to the loops on the sanding pad.
To attach hook and loop sandpaper to your sander, follow these steps:
- Ensure that the sanding pad on your sander is clean and free from any dust or debris.
- Align the holes on the sandpaper with the holes on the sanding pad.
- Press down firmly on the sandpaper, ensuring that the hooks firmly attach to the loops on the sanding pad.
- Smooth out any air bubbles or wrinkles that may have formed during the attachment process.
Hook and loop sandpaper offers a strong and secure attachment, making it easy to change the sandpaper when needed.
Using Clamp-on Sandpaper:
If your sander does not have a built-in attachment method for sandpaper, clamp-on sandpaper is an option. This type of sandpaper is designed with holes and flaps that can be clamped onto the sanding pad.
To attach clamp-on sandpaper to your sander, follow these steps:
- Place the sandpaper on the sanding pad, aligning the holes on the sandpaper with the holes on the sanding pad.
- Attach the clamps to the holes on the sandpaper, ensuring that they hold the sandpaper securely.
- Tighten the clamps, applying enough pressure to ensure a tight grip.
Clamp-on sandpaper provides a secure attachment, but it may require more effort and time to set up compared to adhesive-backed or hook and loop sandpaper.
Using Clip-on Sandpaper:
Another option for attaching sandpaper to a sander is clip-on sandpaper. This type of sandpaper comes with metal or plastic clips that can be attached to the sanding pad.
To attach clip-on sandpaper to your sander, follow these steps:
- Place the sandpaper on the sanding pad, ensuring that it covers the entire surface.
- Slide the clips onto the sanding pad, positioning them over the edges of the sandpaper.
- Press down on the clips to secure them onto the sanding pad, ensuring a tight grip.
Clip-on sandpaper provides a reliable attachment method, but it may be less common and harder to find compared to other options.
Using Screw-on Sandpaper:
For certain types of sanders, such as drum sanders or disc sanders, screw-on sandpaper is the preferred method of attachment. This type of sandpaper comes with pre-drilled holes that match the mounting holes on the sanding pad.
To attach screw-on sandpaper to your sander, follow these steps:
- Place the sandpaper on the sanding pad, aligning the holes on the sandpaper with the mounting holes on the sanding pad.
- Insert screws through the holes in the sandpaper and into the mounting holes on the sanding pad.
- Tighten the screws, ensuring that the sandpaper is securely attached to the sanding pad.
Screw-on sandpaper provides a sturdy attachment that is ideal for heavy-duty sanding tasks.


