Gathering the Necessary Tools and Materials
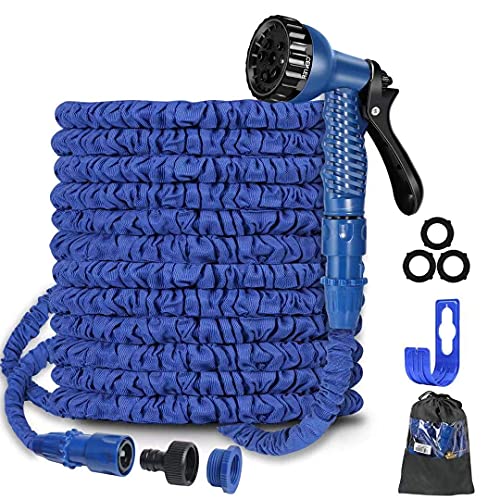
Attaching a garden hose to a faucet might seem like an easy task, but it requires specific tools and materials. To get started, you will need a garden hose, a hose connector, and a set of pliers. You might also want to consider using Teflon tape or a rubber washer to prevent any leaks. If you don’t have these items, you can find them at most hardware or home improvement stores.
Preparing the Faucet
The first step in attaching a garden hose to a faucet is to prepare the faucet for the hose connector. Before you begin, make sure the faucet is turned off. Using a set of pliers, loosen the faucet aerator and unscrew it from the faucet. This will expose the threaded end of the faucet where you can attach the hose connector.
Attaching the Hose Connector
Once the faucet is prepared, it’s time to attach the hose connector. Place a rubber washer or wrap Teflon tape around the threaded end of the faucet to prevent any leaks. Screw the hose connector onto the faucet by turning it clockwise. Tighten the hose connector with pliers, being careful not to over-tighten and damage the threads or connector.
Connecting the Garden Hose
With the hose connector attached, it’s time to connect the garden hose. Make sure the hose is clean and free from any kinks or tangles. Align the threads of the garden hose with the threads of the hose connector and twist the hose onto the connector. Again, use pliers to tighten the connection, making sure not to over-tighten and damage the hose or connector.
Testing for Leaks and Using the Hose
Once the garden hose is attached to the faucet, turn on the water and test for leaks. If you notice any leaks, tighten the connections until the leaks stop. Once you are confident there are no leaks, you can begin using the hose for your watering needs. Remember to turn off the faucet and disconnect the hose when you’re finished to prevent any leaks or damage to the hose or connector.


![HOZELOCK - Compact Hose Reel 25m (ø 12.5 mm) : Integrated Handle, Supplied with 25m of Multi-purpose Hose, Fittings and Nozzle, Max. Capacity 30m [2412P0275]](https://m.media-amazon.com/images/I/411Pj+U4UWL.jpg)
