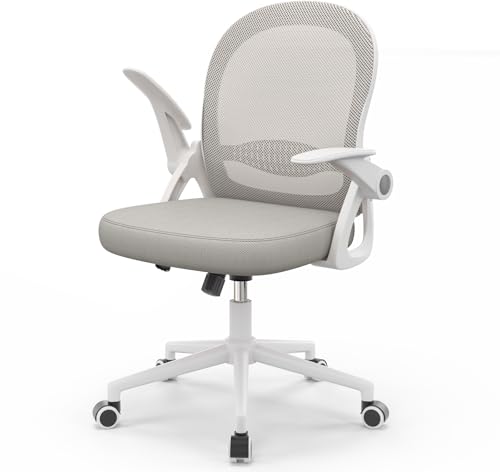
Step-by-Step Guide on How to Assemble a Swivel Chair
Assembling a swivel chair may seem like a daunting task, especially if you’re not familiar with DIY projects. However, with the right tools and guidance, it can be a straightforward process. In this article, we will provide you with a step-by-step guide on how to assemble a swivel chair, ensuring you have a comfortable and functional piece of furniture in no time.
Gather the Required Tools and Materials
Before you start assembling your swivel chair, it’s essential to gather all the necessary tools and materials. Most swivel chairs come with an instruction manual that typically includes a list of required tools. However, here are some common tools you may need:
- Allen wrench or hex key
- Screwdriver (flathead or Phillips, depending on the screws)
- Hammer (if needed for any extra force)
- Optional: drill (if additional screws need to be installed)
Make sure to have these tools readily available before you begin the assembly process.
Read the Instruction Manual
Even if you consider yourself a DIY expert, it’s crucial to read the instruction manual provided with your swivel chair. The manual often includes valuable information specific to the chair model, such as special instructions or specific assembly steps to follow. Reading the manual beforehand will give you a better understanding of the process and help you avoid any assembly mistakes.
Start with the Base and Casters
The first step in assembling a swivel chair is to attach the base to the chair seat. Start by turning the chair upside down so that the seat is facing the floor. Align the mounting holes on the base with the holes on the bottom of the seat. Insert the provided screws through the holes and tighten them using the appropriate tool. Depending on the chair, you may need to use an Allen wrench or a screwdriver.
Once the base is securely attached, it’s time to install the casters. Most swivel chairs come with casters already attached to the base, but if not, you will need to insert and secure them. Gently press each caster into the pre-drilled holes on the bottom of the base until they click into place. Give them a slight twist to ensure they are properly secured and can rotate freely.
Attach the Gas Lift Mechanism
The gas lift mechanism allows your swivel chair to adjust its height. To attach the gas lift, remove the protective cap from the top of the chair’s base. Insert the gas lift cylinder into the opening, making sure it fits snugly. Apply downward pressure while twisting clockwise to lock it in place. Once the gas lift is securely attached, test its functionality by raising and lowering the chair to ensure it moves smoothly.
Secure the Seat and Backrest
The final step is to secure the seat and backrest to the swivel chair’s base. Turn the chair upright and place the seat onto the gas lift mechanism, ensuring it fits properly. Most chairs will have pre-drilled holes on the bottom of the seat that align with the holes on the gas lift. Insert the screws provided through the holes and tighten them using the appropriate tool.
If your chair has a separate backrest, align it with the holes on the back of the seat and insert the screws to secure it in place. Again, tighten the screws using the appropriate tool, ensuring they are securely fastened.
Once all the components are securely attached, give your swivel chair a final inspection. Check for any loose screws or parts, and tighten anything that may need it. Sit on the chair and test its stability and comfort.
Congratulations! You have successfully assembled your swivel chair. Now you can enjoy the comfort and versatility it provides while adding a stylish touch to your workspace or home.


