Understanding the Seam Ripper
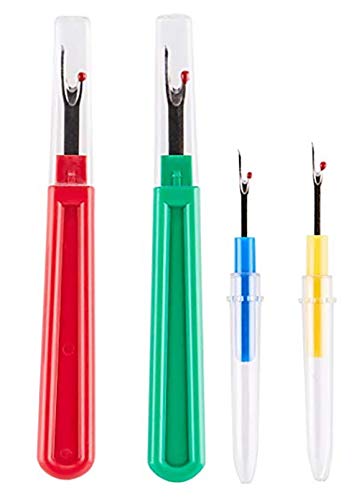
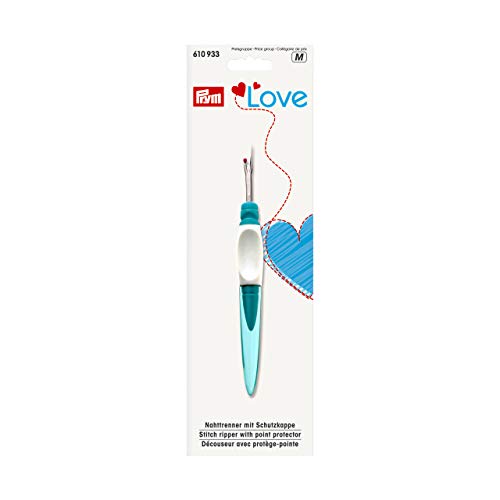
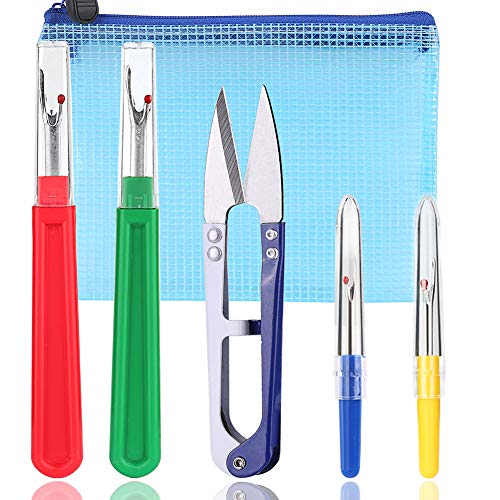
A seam ripper is a small, handheld tool used to undo stitches in fabric. It consists of a handle with a pointed blade that slides underneath stitches, allowing them to be cut and removed. While seam rippers are designed to be sharp and effective, they can become dull over time with use. A dull seam ripper can make the task of removing stitches more difficult and may even damage the fabric. In this article, we will explore some tips and techniques for sharpening a dull seam ripper to restore its functionality.
Checking for Dullness
Before attempting to sharpen a seam ripper, it’s important to determine if it is indeed dull. A dull seam ripper will struggle to cut through stitches and may leave threads behind, making it difficult to remove them completely. To check for dullness, gently run the blade of the seam ripper across your thumbnail. If it slides effortlessly and leaves a mark, it is still sharp. However, if it feels dull, skips, or fails to make a mark, it’s time to sharpen it.
Sharpening Techniques
There are several methods you can use to sharpen a dull seam ripper:
- Using a Sharpening Stone: A sharpening stone is a traditional tool used to restore sharpness to blades. To use it, moisten the stone and hold the seam ripper at a slight angle against it. Gently move the blade along the stone in a slicing motion, maintaining a consistent angle. Repeat this process several times, checking the sharpness periodically.
- Using a Ceramic Mug: A ceramic mug with an unglazed ring on the bottom can also be used to sharpen a dull seam ripper. Hold the seam ripper at a slight angle against the rough ring and slide it back and forth several times. This will help to realign the blade and remove any burrs or imperfections.
- Using Sandpaper: If you don’t have access to a sharpening stone or ceramic mug, you can use sandpaper to sharpen your seam ripper. Fold a piece of fine-grit sandpaper in half and hold it between your thumb and forefinger. Run the blade of the seam ripper along the folded edge, moving it back and forth several times. Be sure to maintain a consistent angle.
Regular Maintenance
Prevention is always better than cure, and this applies to seam rippers as well. To keep your seam ripper sharp and in good condition, it’s important to practice regular maintenance. This includes:
- Cleaning: After each use, clean your seam ripper to remove any fabric fibers or residue. Use a small brush or toothbrush to gently scrub the blade, then rinse it with water and dry thoroughly.
- Storing: When storing your seam ripper, protect the blade by keeping it covered or using a cap. This will help prevent accidental dulling or damage.
- Replacing: If your seam ripper is heavily worn or damaged, it may be time to replace it. Using a dull or damaged seam ripper can lead to frustration and potentially damage your fabric.
Safety Tips
When sharpening a seam ripper, it’s essential to prioritize safety. Follow these tips to avoid accidents:
- Protective Gear: Wear safety goggles and gloves to protect your eyes and hands from potential injury while sharpening.
- Secure Grip: Hold the seam ripper securely and with caution, making sure your fingers are clear of the blade.
- Keep Others Away: Always sharpen your seam ripper away from others, especially children and pets.