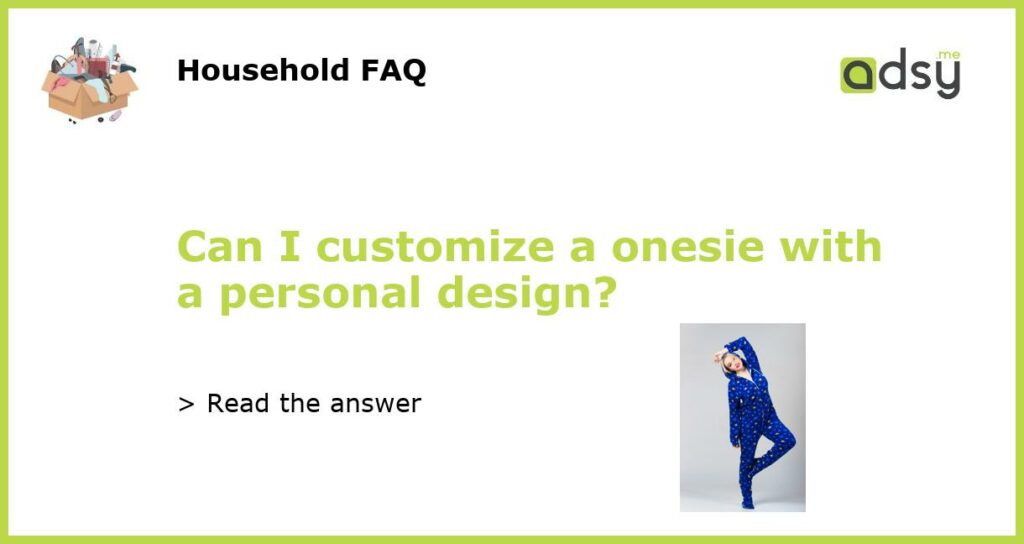
Yes, you can! Here’s how to customize a onesie with a personal design
Onesies are a popular and practical garment choice for babies and adults alike. They are comfortable, versatile, and can be found in a wide range of colors and styles. But sometimes, you want something even more unique – a onesie that reflects your personal style or showcases a special design. Luckily, there are several ways you can customize a onesie with your own personal design.
DIY Screen Printing
One of the most popular ways to customize a onesie with a personal design is through DIY screen printing. This method allows you to transfer your design onto fabric using a specialized screen printing kit. Here’s how it works:
- Create your design: Use a graphic design software or draw your design by hand. Keep in mind the size and placement of your design on the onesie.
- Prepare the screen: Choose a screen with a mesh that matches the level of detail in your design. Apply a layer of emulsion and let it dry. Once dry, expose the screen to light with your design on top, creating a stencil.
- Apply ink: Place your onesie on a flat surface and position the screen on top. Spread ink over the stencil and use a squeegee to press it through the mesh and onto the fabric.
- Cure the ink: Follow the instructions on the ink packaging to properly cure the design. This usually involves applying heat with an iron or heat press.
DIY screen printing allows you to experiment with different colors and designs, creating a completely unique onesie.
Iron-On Transfers
If you’re looking for a simpler and more temporary customization option, iron-on transfers are a great choice. Iron-on transfers are sheets of special paper that can be printed with your design using an inkjet printer. Here’s how to use iron-on transfers to customize a onesie:
- Create your design: Use a graphic design software to create your design or choose a pre-made design. Make sure to mirror the image before printing it onto the iron-on transfer paper.
- Print onto transfer paper: Load the iron-on transfer paper into your inkjet printer and print the design onto the glossy side of the paper. Let the ink dry completely.
- Cut out the design: Carefully cut around the edges of your design, leaving a small border. Make sure to remove any excess paper or backing.
- Position and iron: Place the onesie on a flat surface and position the transfer with the design facing down. Set your iron to the appropriate temperature and apply firm, even pressure to the design for the recommended amount of time. Allow the transfer to cool before peeling off the backing.
Iron-on transfers are a quick and easy way to customize a onesie with any design you can imagine.
Embroidery
For a more textured and permanent customization option, consider embroidering your design onto a onesie. Embroidery adds a professional and stylish touch to any garment, including onesies. Here’s how to embroider a onesie:
- Create your design: Sketch out your design on paper or use a digital embroidery program to create a digital version. Keep in mind the size and placement of your design on the onesie.
- Transfer the design: Use a transfer pencil or special transfer paper to transfer your design onto the onesie. Make sure to follow the instructions carefully to ensure an accurate transfer.
- Thread your needle: Choose embroidery floss or thread that matches your design. Thread your needle and tie a knot at the end.
- Start stitching: Begin stitching your design, following the transferred lines. There are various embroidery stitches to choose from, such as backstitch, satin stitch, and French knot. Experiment with different stitches to achieve your desired effect.
- Secure the threads: Once you have completed your design, secure the threads on the inside of the onesie using a small knot or by weaving them into the fabric.
Embroidery adds depth and personality to a onesie, making it a cherished keepsake or a thoughtful gift.
Professional Customization Services
If you’re not confident in your DIY skills or simply prefer a professional touch, there are numerous customization services that specialize in customizing onesies. These services often offer a wide range of design options, including the ability to upload your own artwork or images.
When choosing a professional customization service, consider factors such as turnaround time, cost, and customer reviews. Look for services that use high-quality materials and offer options for different sizes and styles of onesies.
Some popular customization services for onesies include CustomInk, Printful, and Zazzle.
Fabric Paint and Stencils
For a fun and creative way to customize a onesie, consider using fabric paint and stencils. Fabric paint allows you to create bold, colorful designs, while stencils make it easy to achieve precise shapes and patterns. Here’s how to use fabric paint and stencils:
- Select your design and stencil: Choose a design or create your own. If using a stencil, make or purchase the stencil that matches your desired design.
- Prepare the onesie: Wash and dry the onesie to remove any sizing or wrinkles. Place a piece of cardboard inside the onesie to prevent paint from bleeding through.
- Secure the stencil: Attach the stencil to the onesie using masking tape or adhesive spray. Make sure it is positioned correctly.
- Apply the paint: Dip a brush or sponge into your chosen fabric paint color and dab it onto the stencil, making sure to cover the entire design area. Use multiple coats if necessary.
- Remove the stencil: Carefully remove the stencil while the paint is still wet. Allow the paint to dry completely before wearing or washing the onesie.
Fabric paint and stencils offer limitless possibilities for customization, allowing you to create unique and eye-catching designs on your onesie.


