The Basics of Installing Zippers
Whether you’re a beginner or an experienced sewer, the thought of installing a zipper can be intimidating. However, with a little practice and the right techniques, you’ll find that zippers are actually quite easy to install. In this article, we’ll walk you through the basics of zipper installation, so you can confidently add zippers to any sewing project.
Gather the Necessary Tools and Materials
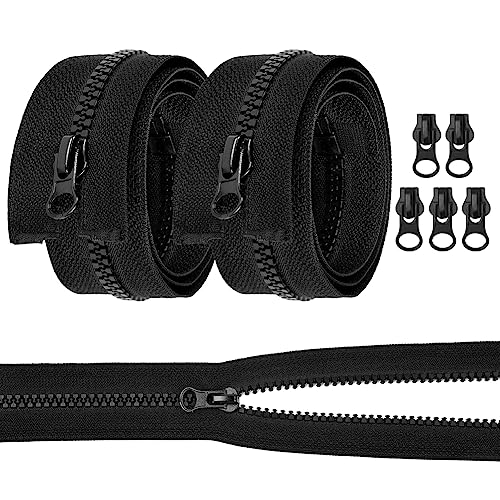
Before you begin, make sure you have all the necessary tools and materials. You’ll need a sewing machine (preferably one with a zipper foot attachment), matching thread, the zipper itself, and some pins or clips to hold the zipper in place. It’s also a good idea to have a seam ripper handy in case you make any mistakes along the way.
Prepare the Fabric and Zipper
Start by preparing the fabric and zipper. If your fabric is prone to fraying, you may want to finish the raw edges with an overlock stitch or a zigzag stitch. Next, determine the placement of the zipper on your fabric and mark it with a fabric marker or chalk. If you’re working with a pattern, make sure to follow the pattern instructions for zipper placement.
To prep the zipper, unzip it all the way and press the zipper teeth flat with an iron. This will make it easier to sew the zipper in place later. If your zipper is longer than needed, you can trim it down to size, making sure to leave a little extra length for ease of use. Additionally, you may want to add a zipper stop at the end of the zipper tape to prevent the zipper pull from coming off.
Sewing the Zipper in Place
Now it’s time to sew the zipper in place. With your fabric right side up, place the zipper face down on the fabric, aligning the raw edges. Pin or clip the zipper in place, making sure it stays centered along the marked line. Attach the zipper foot to your sewing machine and adjust the needle position if needed.
Beginning at the top of the zipper, stitch along the zipper tape, removing the pins or clips as you go. Take your time and sew in a straight line, using a regular stitch or a basting stitch if you prefer. When you reach the bottom of the zipper, backstitch to secure the stitches and cut the thread.
Repeat the process on the other side of the zipper, making sure to align the fabric and zipper properly. Once both sides are sewn, test the zipper to ensure it opens and closes smoothly. If you’re happy with the result, you can trim any excess fabric and finish the edges as desired.
Troubleshooting Common Zipper Installation Issues
While installing zippers is generally straightforward, you may encounter some common issues along the way. For example, if your fabric puckers or gathers around the zipper, try using a longer stitch length or adjusting the tension on your sewing machine. If the zipper pull gets stuck or doesn’t zip smoothly, double-check that you’ve pressed the zipper teeth flat and that the zipper is aligned properly.
If you make a mistake and need to remove the zipper, use a seam ripper to carefully unpick the stitches. Take your time and be gentle to avoid damaging the fabric. Once the zipper is removed, you can start again or try a different technique if necessary.
With practice, installing zippers becomes second nature. Don’t be discouraged if your first few attempts aren’t perfect – it’s all part of the learning process. And remember, there are many online tutorials and resources available to help you along the way. So dive in and start adding zippers to your sewing projects with confidence!