What You Will Need
Before you begin installing a power socket on a wall, make sure you have all the necessary tools and materials. You will need:
- A power socket and wiring module kit
- Electrical wire
- A screwdriver
- Wire strippers
- Electrical tape
- A voltage tester
- A wire cutter
- A stud finder (optional)
- A pencil
Step 1: Turn Off the Power
Safety should always be your top priority when working with electricity. Before you begin installing a power socket, turn off the power to the circuit you will be working on. Locate your electrical panel and switch off the corresponding circuit breaker. To be extra cautious, use a voltage tester to ensure the power is off.
Step 2: Mark the Location
Decide where you want to install the power socket on the wall. Use a stud finder to locate any studs in the wall, as it is ideal to anchor the socket to a stud for added stability. Mark the location with a pencil.
Step 3: Cut the Opening
Use a screwdriver to remove the cover plate from an existing power socket. Carefully remove the socket from the electrical box, taking note of how the wires are connected. Using a drywall saw or a utility knife, cut a new opening for the power socket, following the dimensions of the electrical box. Make sure the opening is large enough for the box to fit snugly.
Step 4: Connect the Wiring
Take the wiring module kit and attach the wires to the power socket. Typically, these modules are color-coded, with black for the hot wire (line), white for the neutral wire (return), and green or bare copper for the ground wire. Follow the instructions provided with the kit and ensure each wire is securely connected.
Next, strip the insulation from the end of the electrical wire. Connect the wires to the corresponding terminals on the power socket. Use wire strippers to remove about half an inch of insulation from the end of each wire. Bend the exposed wire into a hook shape and loop it around the appropriate terminal screw. Tighten the screw to secure the wire in place.
Step 5: Secure the Power Socket
Once the wiring is complete, carefully tuck the wires into the electrical box, making sure they do not interfere with the socket mechanism. Attach the power socket to the electrical box using the screws provided with the kit. Make sure the socket is level and securely fastened.
Finally, attach the cover plate to the power socket and tighten the screws. Turn the power back on at the electrical panel and test the socket to ensure it is functioning properly. If you are unsure about any step of the installation process, consult a licensed electrician for assistance.


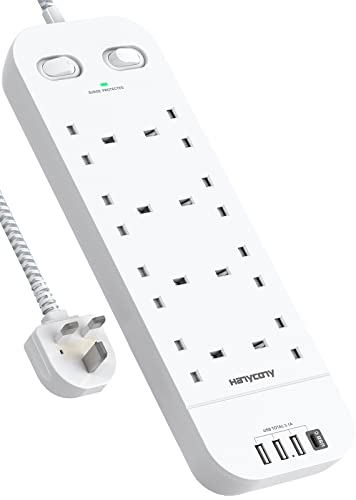
![Tower Extension Lead, [13A 3250W] Surge Protector Extension Lead,8 AC Outlets & 4 USB Ports Multi Plug Socket Power Strip with 3M Extension Cable for Home, Office](https://m.media-amazon.com/images/I/41xEQjKqvJL.jpg)
