Gather Your Materials
Before beginning the installation process, make sure you have all the necessary materials. This includes the drop-in sink, mounting hardware, silicone sealant, a putty knife, and a wrench. It’s also a good idea to have a bucket and some rags on hand in case of any leaks or spills.
Prepare Your Countertop
Start by measuring the size of the sink opening in your countertop. Then, use a jigsaw to carefully cut out the opening according to your measurements. Make sure the opening is large enough to accommodate the sink, but not so big that the edges of the sink won’t be supported. Sand any rough edges or corners to ensure a smooth, flush fit.
Install the Sink
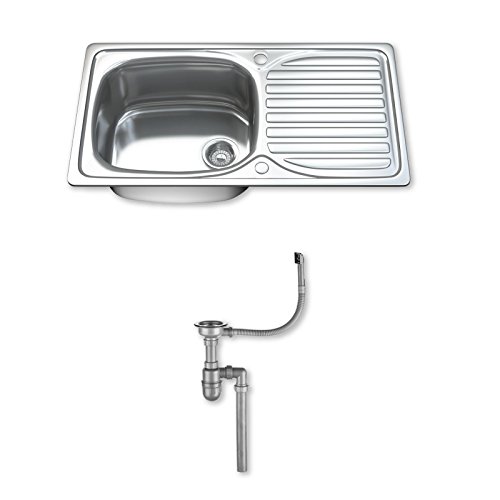
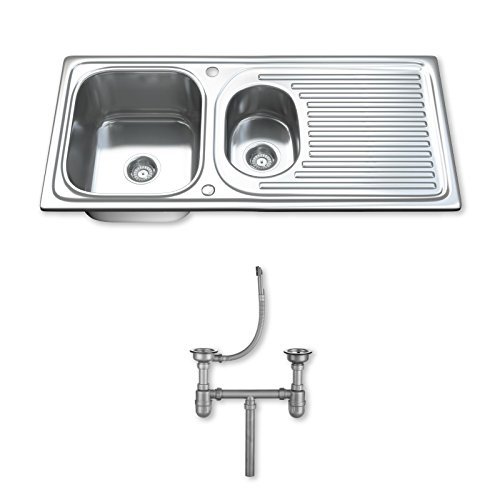
Lower the sink into the opening and make sure it sits flush with the countertop. Next, attach the mounting hardware to the underside of the countertop, making sure the clips are securely fastened to the sink. Tighten the screws with a wrench, being careful not to overtighten and crack the sink. Once the sink is firmly in place, use silicone sealant around the edges to create a waterproof seal.
Connect Plumbing
Connect the drain and water supply lines to the sink according to the manufacturer’s instructions. Install any necessary strainers or garbage disposals as well. Turn on the water supply and check for any leaks or drips. If everything looks good, you’re ready to start using your new sink!
Maintain Your Sink
To keep your drop-in sink looking and functioning its best, be sure to clean it regularly with a non-abrasive cleaner. Avoid using harsh chemicals or abrasive materials that could scratch or damage the surface. Wipe up any spills or stains immediately to prevent staining or discoloration.


