Replacing a clothes button: Tips and tricks
Why replacing a clothes button is useful?
One of the most common problems we face while using our clothes is when a button falls off. It’s frustrating to see a shirt with a missing button, especially when we’re in a hurry. It’s essential to know how to replace a button, as it’s a basic sewing skill that can save you time, money, and energy. Being able to replace a clothes button can extend the life of your garment, make it look well-maintained, and keep you looking your best. Besides, it’s an eco-friendly habit as you can fix the garment instead of throwing it away.
How to replace a clothes button?
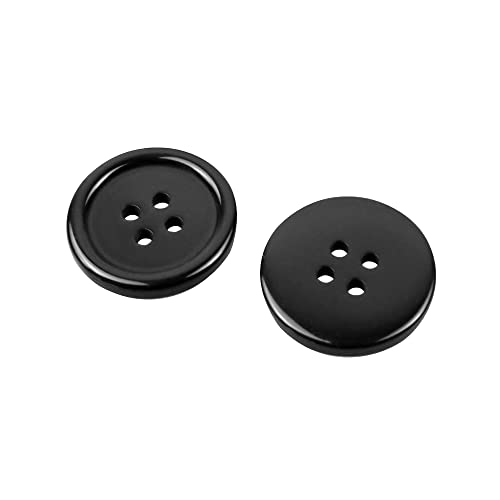
The first step in replacing a clothes button is selecting the right type of button. It’s crucial to choose the right size, shape, and color of the button that matches the rest of the garment. You can use a matching button from your collection or buy a new one from a craft store. Once you have the button, you need to thread a needle with a top-quality thread that matches the thread color used in the garment. Double the thread and knot it at the end.
The second step is lining up the new button where the old one was. Place the button on the right side of the fabric and push the needle up through one of the buttonholes. Bring the needle over to the opposite buttonhole, and push it down through the fabric. Repeat this motion four to six times to secure the button. Then, finish by tying a knot at the back of the garment and cut the thread close to the knot.
What are some common mistakes when replacing a clothes button?
One of the most common mistakes is using the wrong needle size. A needle that’s too thick can create larger holes than needed, and a needle that’s too thin can cause the thread to break or come undone easily. Make sure to use the right size needle that matches the fabric and the button size. Another common mistake is not tying a knot behind the button securely. A poorly tied knot can cause the button to come loose and fall off quickly.
What are some tips for beginners?
If you’re a beginner, start by practicing on an old shirt or fabric scrap before tackling a more delicate garment. Use a contrasting thread color to help you see where you’re sewing and make sure to use a thimble to prevent your fingers from getting sore. If you don’t have a thimble, you can use a small piece of rubber or leather to protect your fingers. Lastly, keep practicing, and you’ll soon be able to replace a button in no time!
Replacing a clothes button is a basic sewing skill that everyone should know. It’s easy to do, saves you money, and keeps your clothes looking their best. By following these tips and tricks, you can become a pro at replacing buttons and extend the life of your wardrobe. Remember to always choose the right type of button, thread, and needle size, and practice on old clothes. With a little time and patience, you’ll be able to fix any button-related issues and keep your clothes looking like new.


