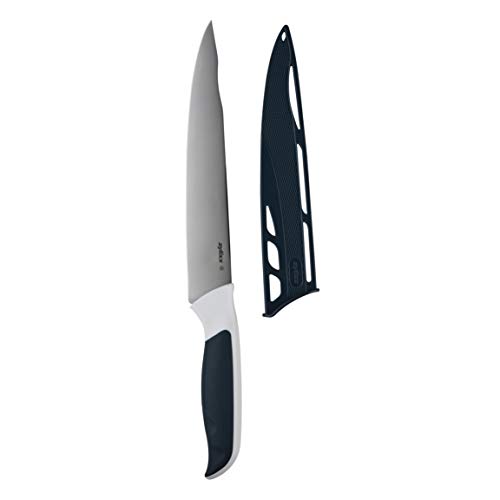
Understanding Carving Knife Techniques
Carving a beautiful turkey or roast requires more than just a sharp carving knife. It takes skill and technique to make each slice perfect. In this article, we will explore some of the most common carving knife techniques used by professional chefs and home cooks alike. With these tips, you’ll be able to create beautiful, evenly sliced meats that are sure to impress your guests.
The Grip
The first step to successful carving is to achieve the correct grip on your carving knife. Hold the knife with your dominant hand, using a loose and relaxed grip. The other hand should be used to stabilize the meat, keeping it in place as you carve. With a firm grip on the meat and a steady hand, you’ll be able to make even slices with ease.
The Angle
The angle at which you carve is also important. Start by making a shallow cut into the meat, then gradually increase the depth of each slice as you work your way through the meat. This will help to create even, thin slices that are easy to serve. For meats with bones, such as ham or poultry, cut parallel to the bone for the best results.
The Pull
Instead of pressing down on the meat with your knife, try using a pulling motion to create each slice. Pull the knife towards you, rather than pushing it away, to create clean and precise slices. This will also help to prevent the meat from tearing or shredding as you carve.
The Carving Fork
A carving fork can be a useful tool when carving meats. Use it to stabilize the meat as you carve, holding it firmly in place while you work. This will make it easier to achieve even slices, and help to prevent the meat from slipping as you carve.
The Resting Period
After your meat has finished cooking, allow it to rest for a few minutes before carving. This will give the juices a chance to redistribute throughout the meat, resulting in a more tender and flavorful dish. It will also make your job easier, as rested meat will hold its shape better when being carved.


