Angle Grinder Basics
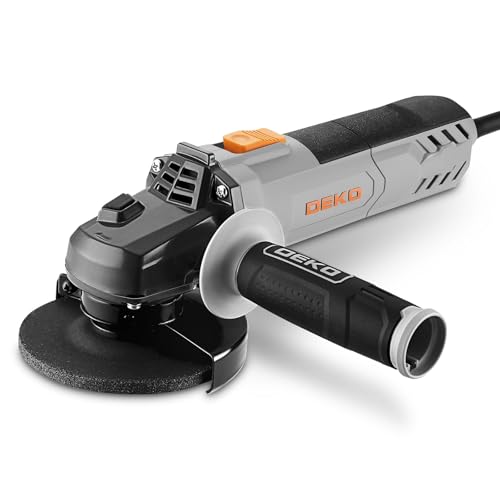
Before learning how to use an angle grinder for polishing, it’s important to understand the basics of this powerful tool. An angle grinder is a handheld power tool that features a rotating abrasive wheel or disc that’s used for grinding, cutting, and polishing materials. It’s a versatile tool that’s commonly used in metalworking, construction, and woodworking projects.
Preparing for Polishing
Once you have an angle grinder and the appropriate polishing discs, it’s time to prepare the material for polishing. Before you begin, make sure the material is clean and free of any debris or surface-level imperfections. If necessary, use a grinding or sanding disc to remove any rough spots, scratches, or rust.
Choosing the Right Polishing Discs
There are several different types of polishing discs available for use with angle grinders. The most common types include flap discs, resin fiber discs, and diamond-polishing discs. Flap discs are great for light polishing and finishing, while resin fiber discs are ideal for heavy-duty polishing and grinding. Diamond-polishing discs are the most advanced and durable option, but they are also the most expensive.
Polishing Techniques
To use an angle grinder for polishing, start by attaching the appropriate polishing disc to the tool. Next, adjust the speed of the grinder to a low or medium setting. Begin polishing the material by moving the grinder back and forth in straight lines. Be sure to apply even pressure and avoid grinding in one spot for too long, as this could cause the material to overheat or become damaged.
Final Touches
After you’ve finished polishing the material with the angle grinder, it’s time to apply some final touches. You can use a polishing compound or wax to buff and shine the material, making it look even smoother and more polished. Be sure to use a clean, dry cloth to apply the product and avoid adding too much pressure or product to the surface, as this could cause unwanted scratching or dulling.


